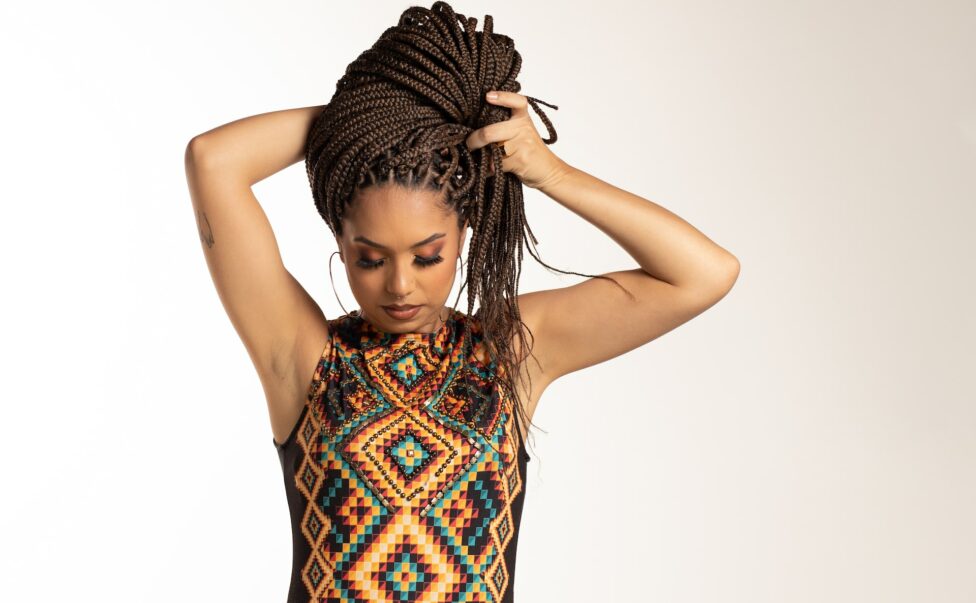
How To Do The Lemonade Braids
Hundred of different hairstyles have been created in the past years. However, most of those hairstyles are made for white people. The hair types of white and black people are very different, so not all hairstyles suit each other’s hair type. Back in 2016, a hairstyle called lemonade braids became famous. This hairstyle became popular because of the hairstyle Beyonce wore when she released her album entitled “lemonade.” This hairstyle is described as a cornrow but is very long and side-swept. This usually ends at your chest or even past your waist. In this article, we will talk about how to do the infamous lemonade hairstyle.
This hairstyle takes about seven hours to complete the look, depending on how long your hair is. It can also last up to four weeks or even longer, depending on how you take care of them.
Step 1: Before you start braiding, comb your hair and apply some styling gel or cream to make your hair smooth and shiny. While you’re at it, apply some moisturizer or conditioner to your scalp. It would be difficult to braid your hair if it is frizzy, especially if it is prone to tangles.
Step 2: Apply some hair shine and holding gel on the area of the hair you will work with. After that, use a tail comb to create a part on the side coming from the temple to the back. Secure the other parts with a clip to avoid distractions.
Step 3: Separate the kanekalon into thin strands. To begin, do a simple braid with natural hair. Do not forget to apply some gel to the strands. Pass the left strand under the middle towards the right. Then the right strand goes under to the left. Finally, the middle to the right. While braiding, keep in mind to firmly grip and braid the strands against the scale. Maintaining tension will prevent the braid from coming loose.
After the first twist, combine the kanekalon. Incorporate the kanekalon with to left strand of the natural hair and then the right strand of the real hair. Repeat the braiding pattern shown in step three’s first part but ensure to include the kanekalon and braid it tightly. Continue braiding until you get to the middle of the desired length, stop adding the kanekalon strands, then continue braiding until you reach the end of the strands.
Step 4: Using the first finished braid as a guide, divide parts from the back of the head to the forehead. Repeat the braiding pattern and technique in each section.
Step 5: Continue doing the same way of braiding in the front section, near the face.
Step 6: After ensuring the braid in the front, braid the remaining section. The one near the ears.
For this hairstyle to last as long as possible, you must keep your hair healthy and treat them properly. Here are some tips to help keep your braids looking good.
Moisturize your braid and scalp
Using light butter or oil, apply them to the braids and scalp to keep your hair shiny and scalp healthy.
Prepare your hair
It is very important that your hair is in its best condition before you get it done. Make sure to do some deep conditioning days before you get them braided. Cleanse your scalp and use nourishing oils for your hair and scalp.
Do not apply heat
Let your hair dry naturally. Using a hair dryer or any unnatural heat will damage the kanekalon.
Use a night scarf
When you go to bed, wrap your hair with a silk or satin night scarf. This will protect your braids and the edges.
After this hairstyle, do not opt for another cornrow.
Wearing cornrows back to back will damage your hair even with the precautions you take. Give your hair some time to breathe and let your scalp rest.

